A thermostat is a crucial component in maintaining the comfort of your home, regulating the temperature to your desired level. Over time, thermostats can become inaccurate due to dust, age, or other factors, leading to inefficiencies and discomfort. Calibration ensures your thermostat is accurately reading and controlling the temperature. This manual will guide you through the process of adjusting your thermostat, ensuring it operates at its best.
Tools and Materials Needed
- Screwdriver
- Spirit level
- Accurate thermometer
- Soft cloth or brush
- Instruction manual for your specific thermostat model
Step-by-Step Calibration Process
1. Read the Manual
Before you begin, read the manual for your specific thermostat model. Different models may have unique calibration procedures, and it’s important to follow the manufacturer’s recommendations.
2. Turn Off the Power
For safety, turn off the power to your heating and cooling system at the breaker box. This will prevent any electrical issues while you’re working on the thermostat.
3. Remove the Thermostat Cover
Use a screwdriver to remove the cover of your thermostat. Handle with care to prevent any damage to the components.
4. Clean the Thermostat
Dust and dirt can affect the accuracy of your thermostat. Utilize a gentle cloth or brush to clean the internal parts. Ensure the bimetallic strip (if your thermostat has one) is free of debris.
5. Check the Thermostat Level
Use a spirit level to ensure the thermostat is level on the wall. An unlevel thermostat can give inaccurate readings. Adjust the position if necessary.
6. Compare Temperatures
Place an accurate thermometer next to your thermostat. Leave both the thermometer and the thermostat undisturbed for about 15 minutes to ensure an accurate comparison.
7. Adjust the Calibration
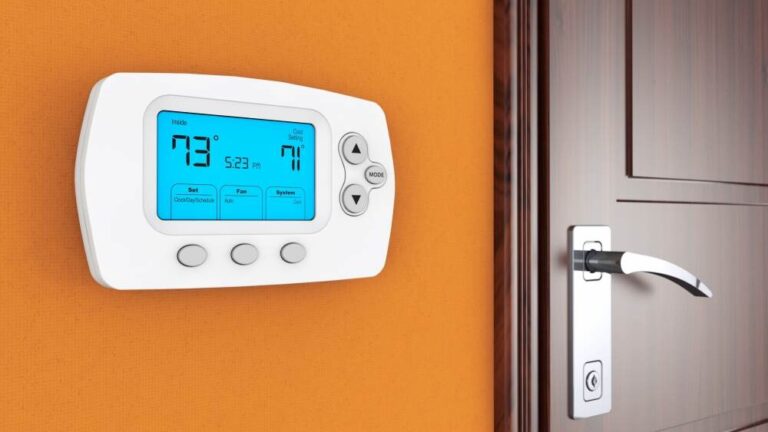
Digital Thermostats: If your thermostat is digital, access the settings menu. Look for an option labeled “Calibration,” “Offset,” or something similar. Adjust the reading to match the accurate thermometer.
Mechanical Thermostats: For mechanical thermostats, you’ll need to adjust the calibration screw. Turn it slightly in either direction to adjust the temperature reading. Consult your manual for specific instructions.
8. Replace the Cover and Restore Power
Once you’ve made the necessary adjustments, replace the thermostat cover and restore power to your heating and cooling system.
9. Test the Thermostat
After calibration, test your thermostat by setting it to a temperature and observing if your heating or cooling system responds appropriately. Monitor the temperature to ensure it maintains the desired level accurately.
Additional Tips
- Regular Maintenance: Regularly clean your thermostat to prevent dust buildup that can affect its accuracy.
- Professional Help: If you’re unsure about calibrating your thermostat or it’s still not functioning correctly after calibration, consider seeking professional help.
- Upgrade: Older thermostats may not calibrate well over time. Consider upgrading to a newer, programmable model for more accurate and efficient temperature control.
acjakarta.com – Calibrating your thermostat ensures your heating and cooling system operates efficiently, saving you money on energy bills and keeping your home comfortable. Follow these steps regularly to maintain optimal performance.